(This post contains affiliate links, which means—at zero cost to you—I will earn a small commission if you click through and make a purchase. Thank you for your support!)
Is your to-do list 100 miles long and scattered in multiple places—random notepads, sticky notes, your planner, and the like?
Do you have trouble staying focused on the things that will actually move the needle forward on your business because you get stuck in the weeds of unimportant busywork?
If this sounds like you, it may be time to consider a project management software tool. Sound expensive and complicated? Not at all! In fact, the project management software tool I highly recommend, Asana, has a 100% free version that you can start using today.
I’ve been using Asana for my work and life projects and to-dos for about 2 years now, and frankly, I don’t know what the heck I was doing before that or how I got anything done!
In this Asana tutorial, I’ll show you:
- how to get started with Asana
- how to create your first project
- how to organize your projects
- how to manage your tasks
- project views
- more ways to view your work
- bonus pro tips
Check out the video below or read on for a summary of everything I discuss.
Getting Started With Asana
Asana is a tool designed specifically to help teams manage entire projects efficiently. From tasks to events to documents, Asana helps teams keep track of every aspect of their projects. Incorporating Asana into the workflow of each team member makes collaboration easy and efficient.
In addition to being able to see the progress you’re making on any given project, Asana allows you to easily assign specific roles to different team members (if you have a team). This lets you control which team members can access each part of the project. Plus, because Asana keeps track of all changes, you never run the risk of losing important data. To get started with Asana, head over to asana.com. There you’ll see three pricing tiers.
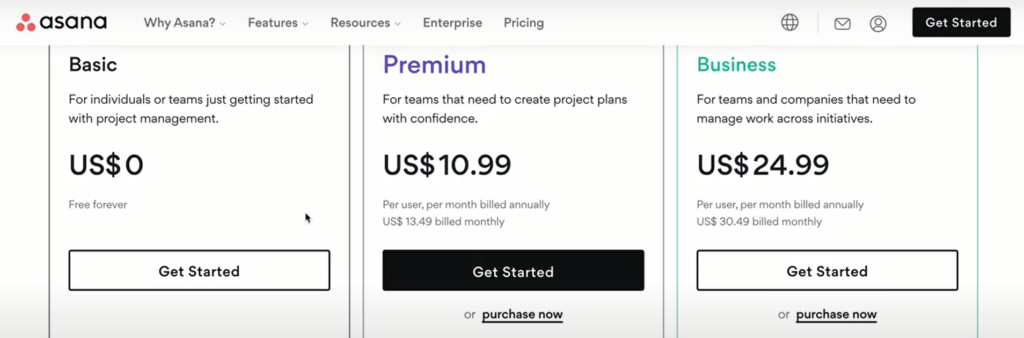
Unless you’re working with a large team, the free Basic version should be more than enough. When I first got started I used the free version, and only upgraded once my team grew. You can either download the desktop app or use the browser version. I prefer the desktop app, but either is fine.
Once you sign up, configure your basic settings and profile photo. Customizable settings include:
- email address and email forwarding
- email notifications
- password
- display settings (such as background)
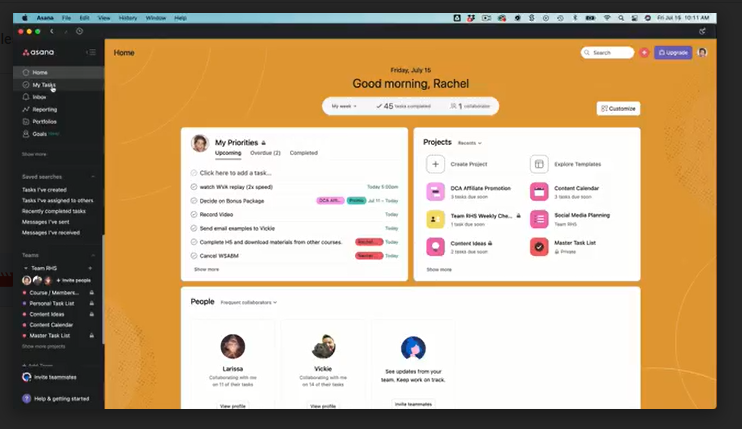
You can also configure your home screen. Here’s how I have mine set up:
How to Create Your First Project
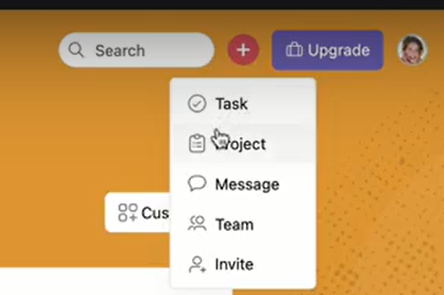
Now that you’re set up in Asana, let’s take a look at creating your first project. To do this, select the “+” button at the top and select “Project.” You should set up a project for anything that will have multiple tasks.
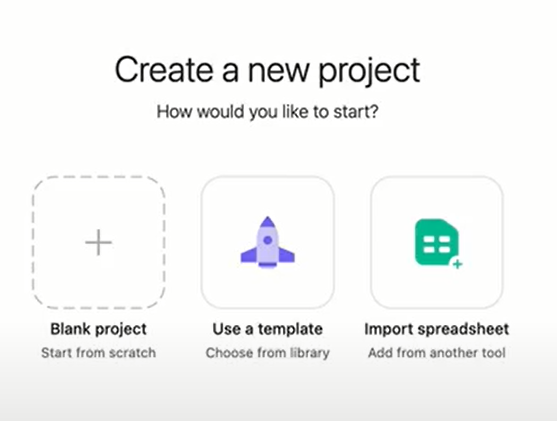
You’ll notice that you have the option to:
- start with a blank project
- use a template
- import a spreadsheet
Setting up a new project from scratch can seem overwhelming, but Asana templates can give you a starting point so that you’re not staring with a blank canvas in the beginning.
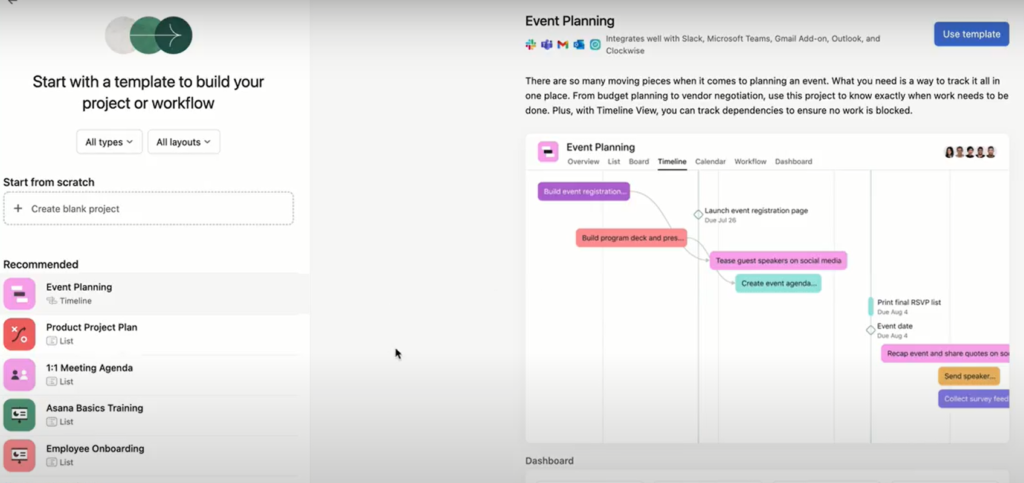
For the purposes of this tutorial, however, I am going to start from scratch by selecting the “Blank Project” option.
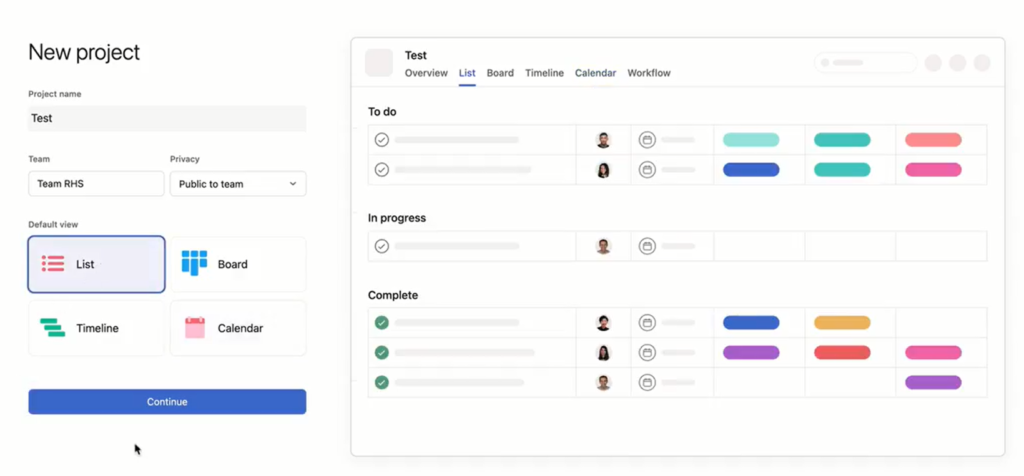
In the New Project window you’ll want to:
- name your project
- select your team (if you’re working with others)
- select your default view (you’ll choose between List, Board, Timeline, and Calendar views; I’ll explain more about these later)
- select your privacy settings (this determines which team members can access or edit project information)
For this example, I’ve named my project “Test,” assigned it to Team RHS, set the privacy to “Public to team,” and selected List view as my default.
Organize Your Project With Sections
As I just mentioned, for the purposes of this tutorial I’m using List view for my project. Before I start adding tasks, I like to set up sections to help me organize those tasks. “Sections” are essentially groups of related tasks. Some examples of sections you might create are:
- workflow stages
- priorities
- task categories
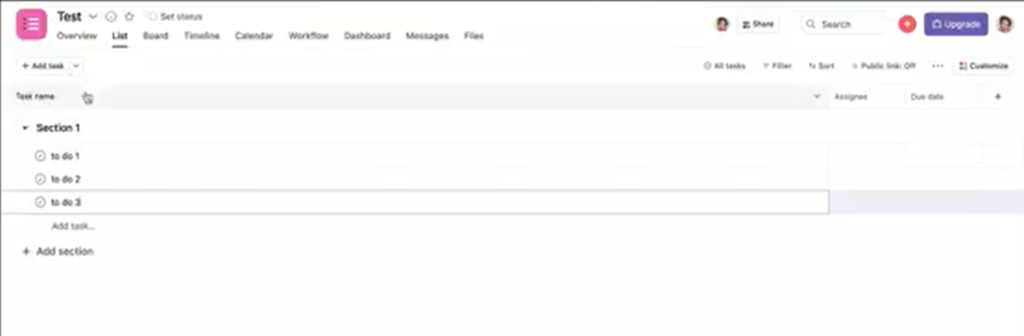
Once you’ve added a few sections, you’re ready to start adding tasks by clicking the “Add task” button:
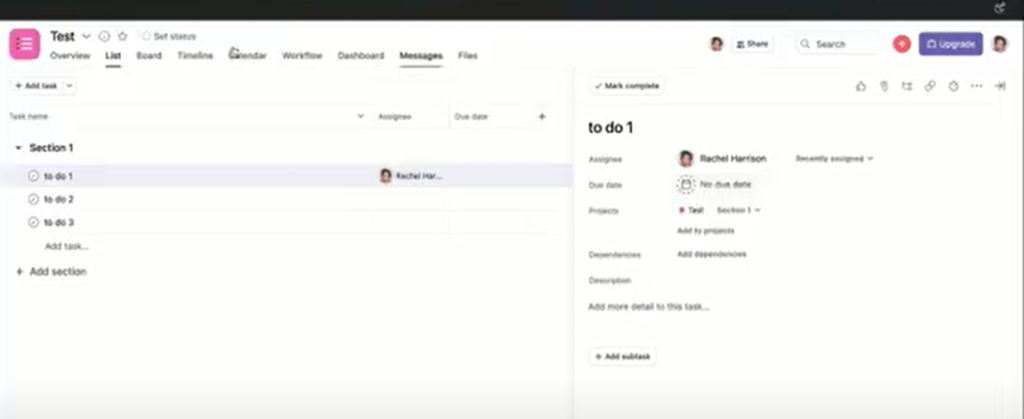
How to Add and Manage Your Tasks
While it’s super easy to add new tasks in Asana, the real trick is managing those tasks effectively. Here are a couple of pro tips for task management:
- Always assign someone to each task (even if it’s just you).
- Always add a due date. If you don’t assign a due date, nothing will get done—trust me on this!
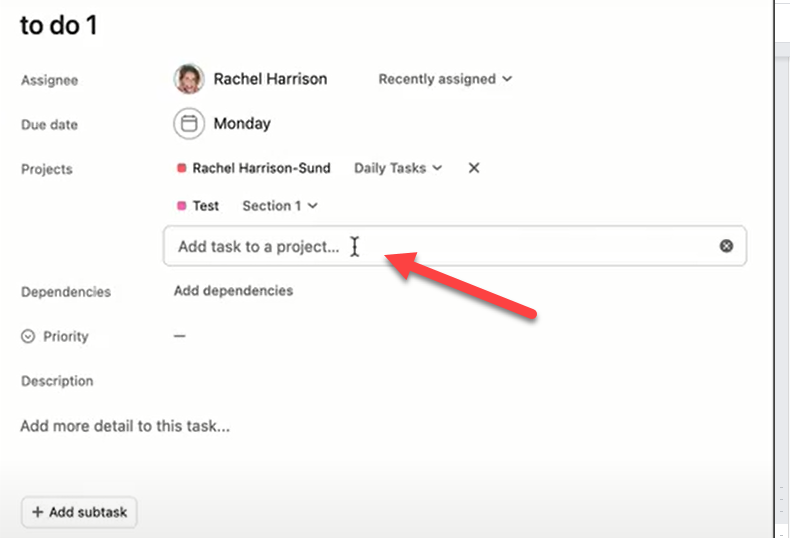
If you have a task that you want to show up in multiple projects, you can add projects in the “Add task to a project” field:
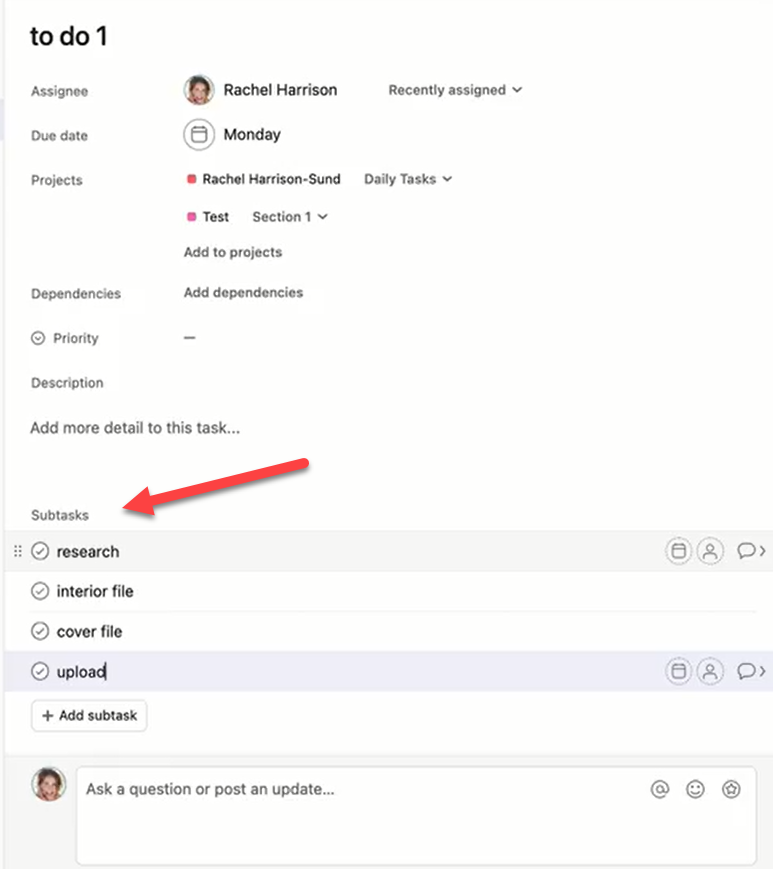
Subtasks and Dependencies
If you have a task that you want to break down into further subtasks, you can do so in the task details:
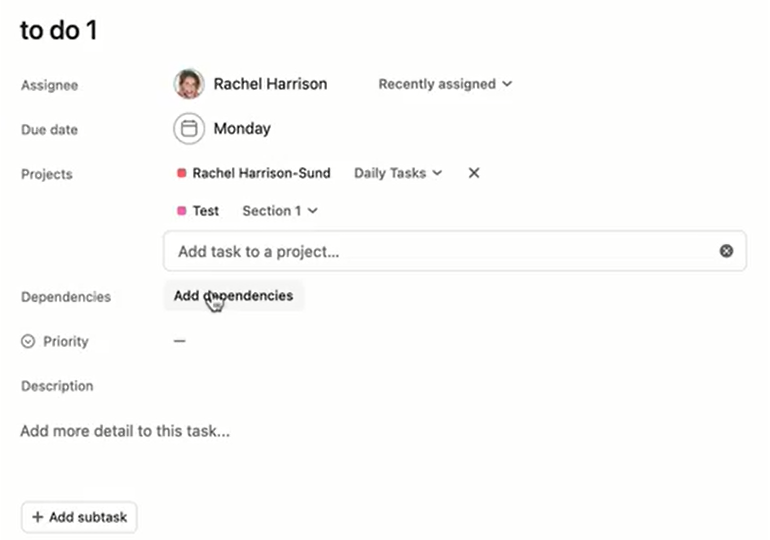
There is also a “Task Dependencies” feature that allows you to show tasks that are dependent upon the completion of other tasks. You can add any dependencies in the task detail.
Other things you can add are:
- attachments
- description
- links
- comments related to the task
- mentions
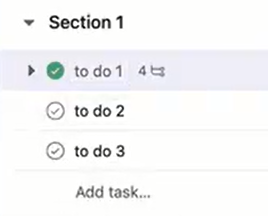
When you mark a task as complete you’ll see a little green check mark next to it:
Project Views
There are several ways you can view projects that make it easy to follow your progress and manage all aspects of them.
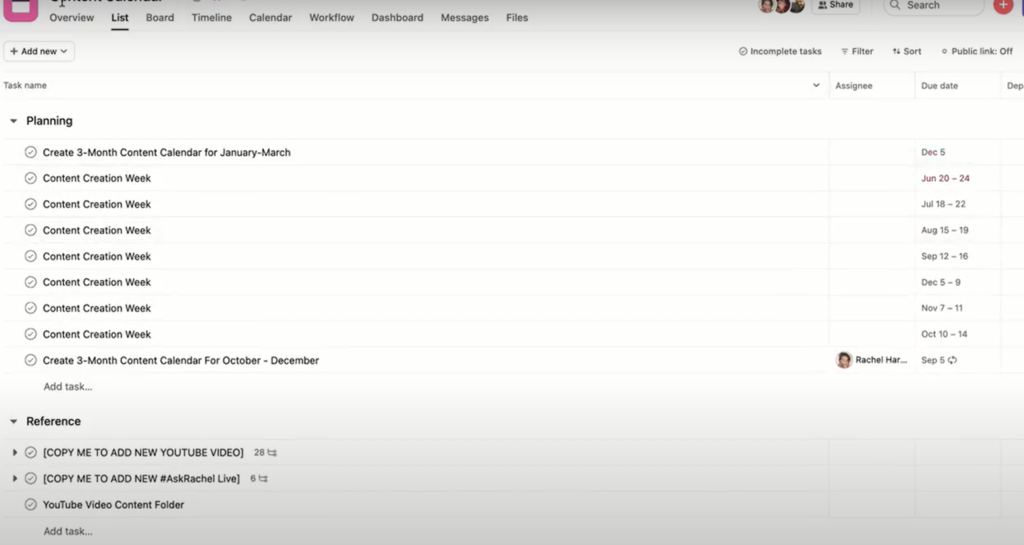
List View
The List view is the default view and displays projects and tasks in one list. It’s a great way to see all of the tasks for a particular project.
You can filter and sort this view to easily see due dates, assignees, etc.
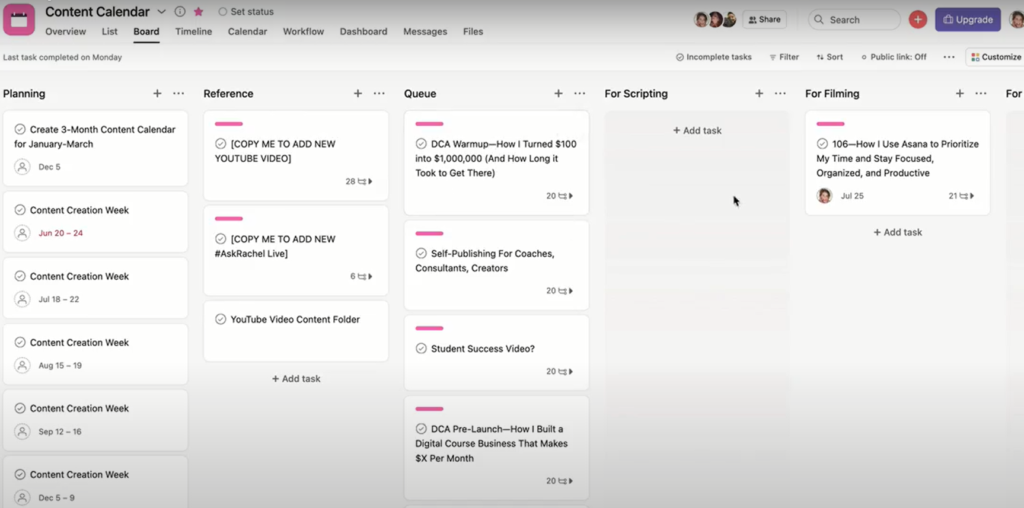
Board View
Board View displays your projects in a grid format with columns representing various project stages. For example, you could have a column for “Planning,” another for “Development,” another for “Testing,” etc. Sorting by column lets you quickly see where you stand on a particular task.
I like to use Board view to manage my content calendar. I can easily see where each piece of content is in the creation process. This helps me and my team manage the workflow of each piece of content. Here’s a peek into my content calendar in Board view.
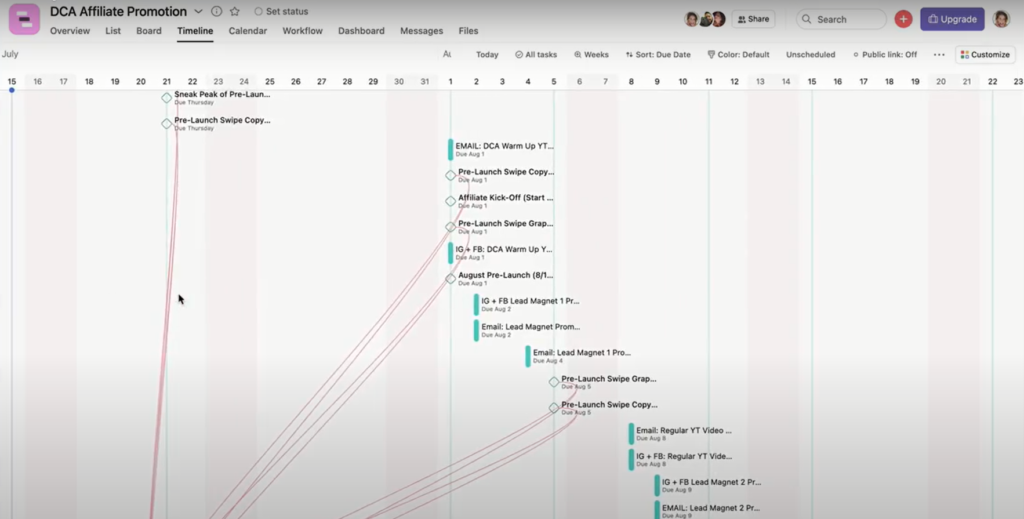
Calendar and Timeline Views
Use Calendar View to see important deadlines and upcoming milestones.

Timeline View helps you easily see milestone dates and related tasks. It’s especially good for complex projects where you need to see interdependencies along with milestone dates.
More Ways to View Your Work
My Tasks
On the left side menu, you’ll see the “My Tasks” option. This view displays in list format all of the tasks that have been assigned to you and is a great way to see all of your simple to-do items.
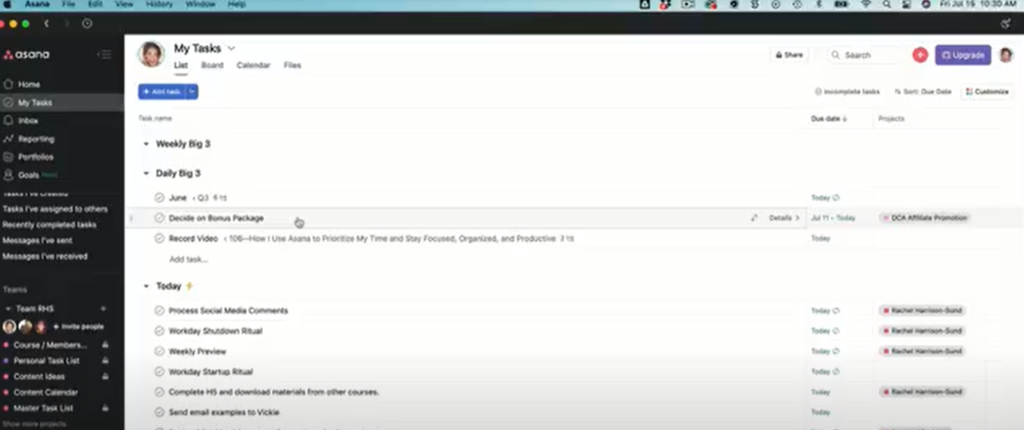
You’ll notice that in my “My Tasks” view, I’ve added a couple of sections that really help me make sure I’m moving the needle forward. These sections are:
- The Weekly Big 3
- The Daily Big 3 (these should tie directly into your Weekly Big 3)
If I get nothing else done except the items I’ve listed in these sections, I can still feel pretty good about what I’ve accomplished.
In addition to keeping my “Big 3s” in Asana, I’ll also add them to my Full Focus Planner, a paper planner I use. You can learn more about how I use the Full Focus Planner in this video. While I do keep all of my tasks in Asana I still appreciate being able to take notes on paper as well.
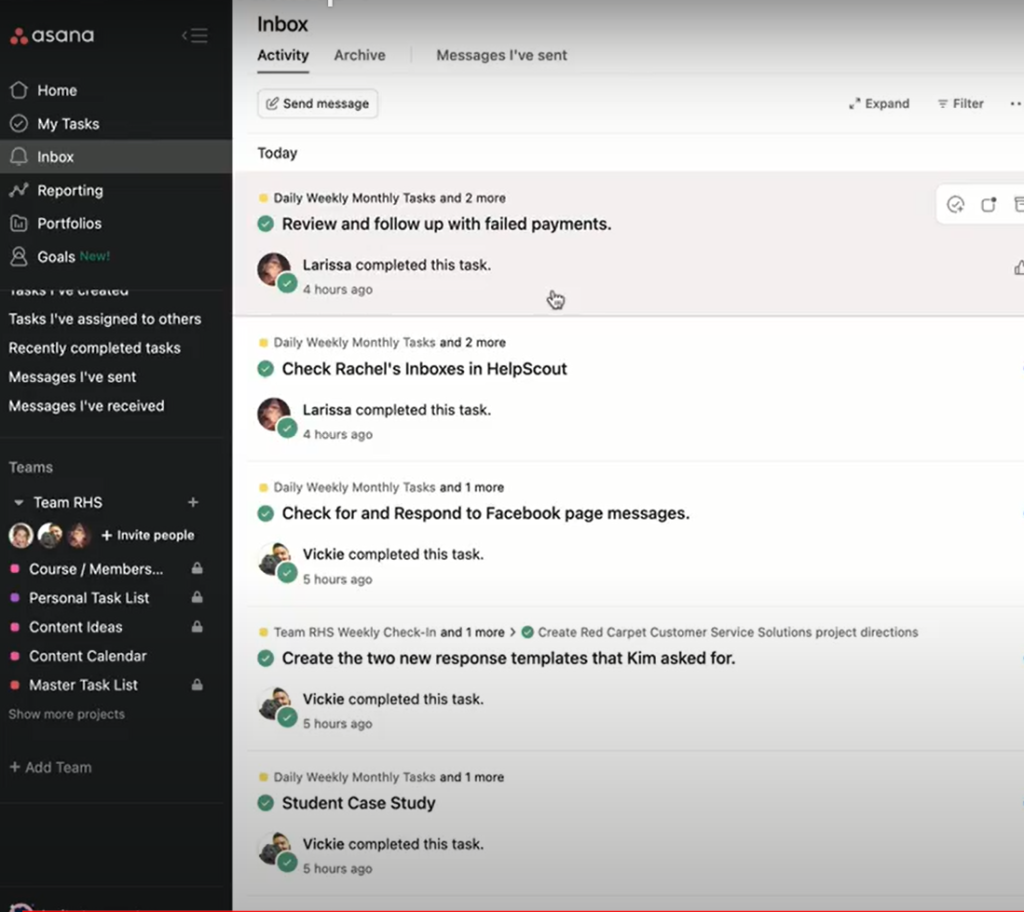
The Inbox
Another view you can select from the left side menu is “Inbox.” This view shows you what your team members have done, along with any messages from or mentions by team members.
Once you review everything in your inbox, you can archive your notifications.
Bonus Pro Tips
There you have it, a sneak peek into my productivity system using Asana! Since starting to use Asana I’ve been a LOT more organized, I know what to focus on and when, and I’m a heck of a lot more productive because of it.
Now that I have a team working with me I can easily assign tasks to a team member and keep track of what everyone is working on. This way I get a lot more done in a lot less time.
Here are a few more bonus tips to help you get started:
- Use Asana daily.
- Make sure you input all of your projects and tasks into Asana. If you keep some in Asana and some on a notepad or sticky notes, you’ll get overwhelmed. Even if you use a paper planner like I do, make sure all of the projects and tasks are also in Asana.
- Assign a due date to everything or it won’t get done.
- Check out Asana Academy for great tutorials, case studies, and guides to help you get started.
If you’re an aspiring online business owner who needs a helping hand getting things off the ground, download my free guide, The 4-Step No Time to Waste Online Business Start Up Blueprint, down below. This guide runs you through ALL the steps of starting an online knowledge-based business, from idea generation all the way through to creating an offer and marketing it to your audience, so definitely check that out!
FREE GUIDE: 7 Places To Share Your Lead Magnet Opt-in by Amy Porterfield
FREE GUIDE: 4-Step “No Time to Waste” Online Business StartUp Blueprint
MORE ONLINE BUSINESS STARTUP TIPS: https://www.rachelharrisonsund.com/
FREE PRIVATE FACEBOOK GROUP: Rachel’s Sandbox